How to Start Using Apstia Care Hospital Suite
How to Start Using Apstia Care Hospital Suite
To initiate your work with ACHS, follow these steps to set up the necessary configurations in the ACHS backend. Begin by logging into the ACHS backend using the demo ID and password with admin privileges.
Step 1: Basic Settings related to Healthcare Facility
a. Hospital Details
Navigate to Settings > Websettings. Enter basic information about your healthcare facility.
b. PDF Logo
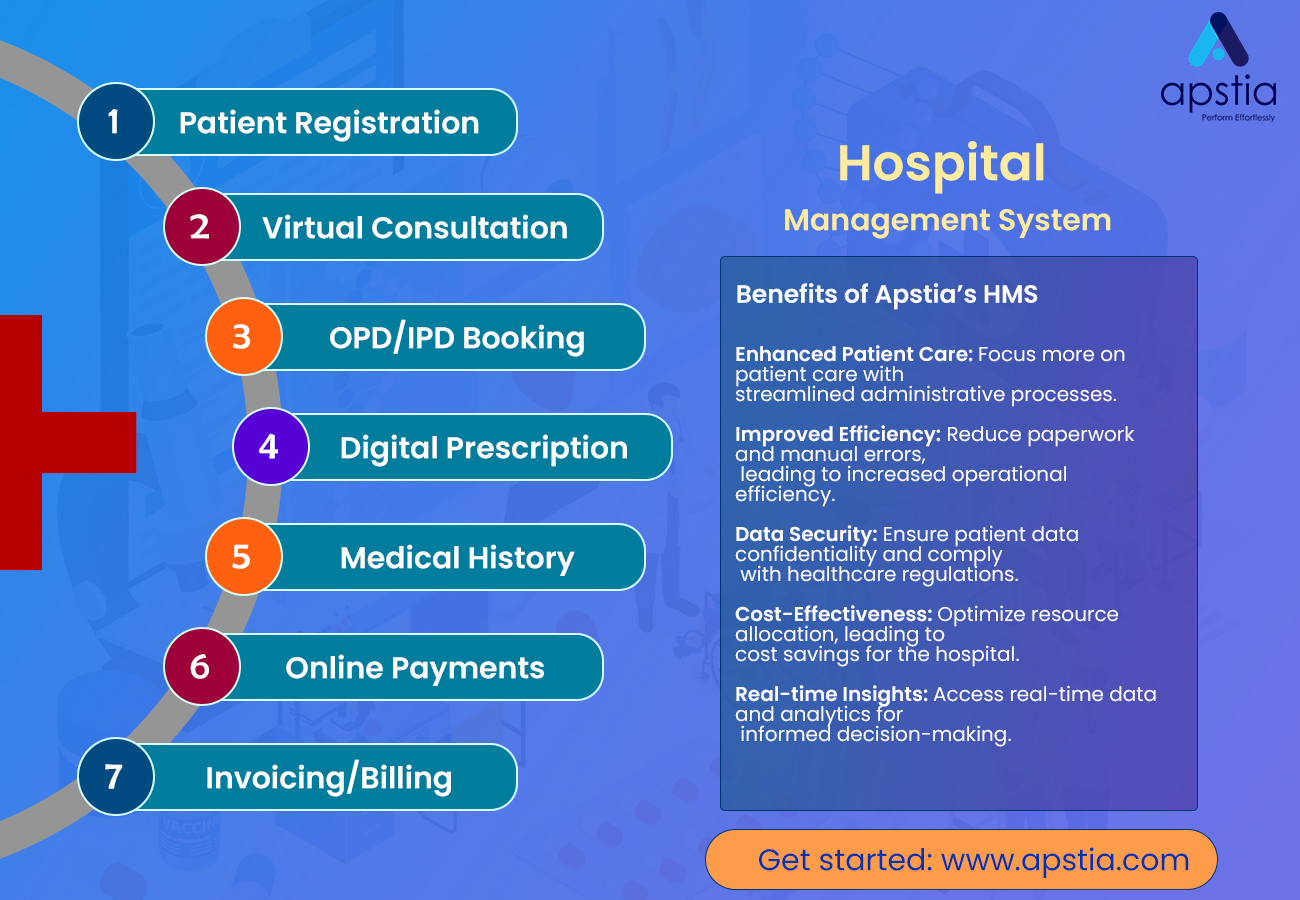
Add images for PDF Invoice and PDF prescription.
c. Department and Services
Go to Settings > Department. Click on the Add button to add departments to your hospital. After adding a department, go to the Add Services button in the department list to include relevant hospital services. Set up the fees/charges for each service. The added department and services will reflect in the doctor booking form.
d. Add Packages and Medicines
Go to Settings > Packages. Add packages and set pricing for each package.
Go to Settings > Medicines. Add medicines.
e. Lab-test
Go to Settings > Labtest setting. Add lab tests and their pricing.
f. Bed-Settings
For healthcare facilities offering IPD service, add bed details in Bed-Settings.
Go to Settings > Bed-Settings. Add types of beds available (e.g., General Ward, Deluxe room, ICU), number of beds, per-day bed charges, etc. Save the information for use during patient IPD admissions.
g. Invoice-Settings
Required for adding IPD-related services or chargeable items. An invoice number will be automatically generated for every IPD patient admission.
Go to Settings > Invoice-Settings. Add chargeable services or items to display in the IPD invoice.
h. Prescription Settings
Required for online prescription forms. Add variations for medicine frequency, route, duration, etc.
i. Email-Settings
Required for sending notification emails for appointment booking, prescription, and invoices.
Go to Settings > Email-Settings. Edit to change the test email to the desired email through which healthcare facilities want to send emails to patients/customers. Ensure all fields are correctly configured; obtain necessary details from your email service provider.
Step 2 – Add Doctors and Their Availability to Start Appointment Booking Function
a. Doctors
Go to Hospital > Doctors. Click on the Add Doctor button. Choose the department(s) to which a doctor is related (a doctor can choose multiple departments).
Add doctor's name, email ID, phone number, and password for the doctor's backend login.
Provide information about certifications and experience for a better understanding. These details will appear on the hospital website under the doctor's tab for every website visitor.
Add an image of the doctor to display on the website and save the form.
b. Doctor Working Time
Go to the doctor's list, click on Working Hours. Add the doctor's day-wise availability, starting and ending hours. Ensure the start time is smaller than the end time. Doctor availability should be scheduled for all weekdays, from Monday to Sunday. Submit the form and use the working hour table to activate or deactivate working hours for a particular day.
These details are essential to start booking appointments, generating digital prescriptions, and handling IPD admissions.